
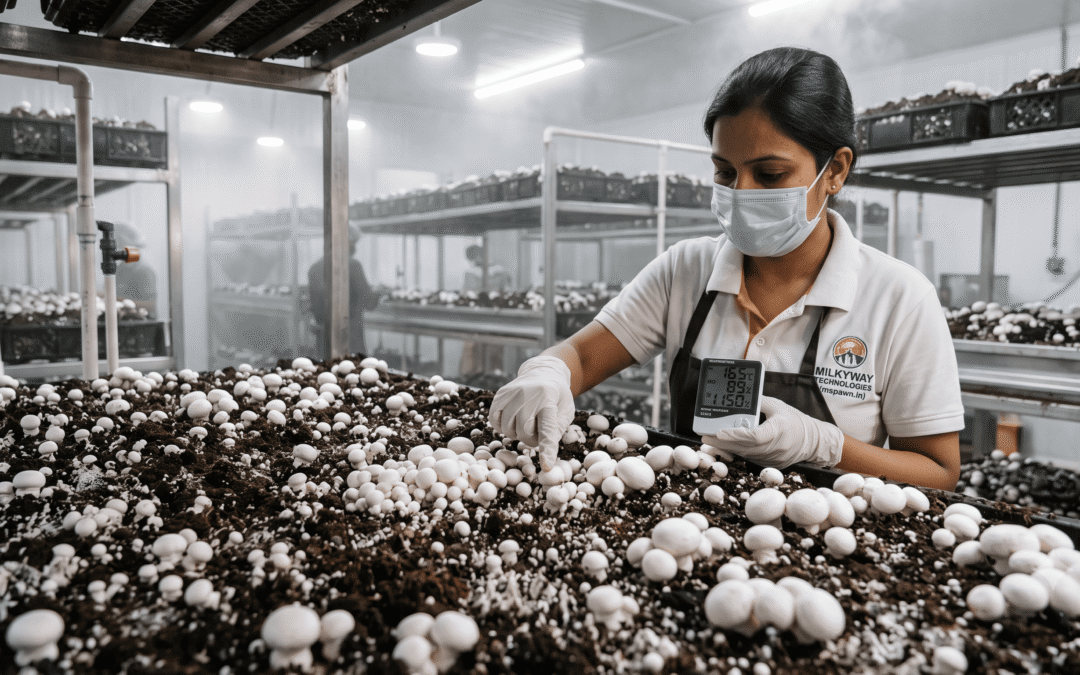
For commercial mushroom growers, seeing a dense “pinhead break” across the casing soil is one of the most satisfying sights in the growing room. But few things are more frustrating than watching hundreds of healthy young pins turn brown, soft, and abort before reaching harvestable size.
Pinhead abortion isn’t just a loss of crop weight—it wastes energy, creates pockets where competitor molds like Trichoderma or Bacterial Blotch can take hold, and disrupts your harvesting schedule.
Understanding why pins abort and mastering the transition from the vegetative spawn run to the reproductive pinning stage is essential for maintaining high yield across all flushes.
1. The Chemistry of Pinning: What Triggers Abortion?
Pinning happens when the vegetative mycelium in the casing soil senses environmental changes signaling it is time to reproduce. However, young primordia (pins) are extremely fragile and lack a protective skin.
Pins abort primarily due to three environmental shock triggers:
-
Sudden Humidity Drops: If the Relative Humidity (RH) drops below 85% during early pin development, moisture is pulled directly out of the pinheads faster than the mycelium can supply it.
-
CO₂ Volatility: Dropping CO₂ too rapidly during casing recovery causes an over-abundance of pins that the underlying compost cannot support, leading to self-thinning (mass abortion).
-
Direct Surface Water Drops: Spraying water directly onto young pins (<5 mm) crushes delicate hyphal structures and creates anaerobic micro-environments on the cap surface.
2. Ideal Environmental Parameters for Pinning
To take the guesswork out of your room control, keep these target thresholds in mind during the critical 7-day transition phase:
| Cultivation Stage | Air Temp (°C) | Compost Temp (°C) | Relative Humidity (RH) | CO₂ Levels (PPM) | Fresh Air Exchange |
| Casing Run | 22°C – 24°C | 24°C – 25°C | 95% | 3,000 – 5,000 | Minimal / Recirculate |
| Air Down (Initiation) | 16°C – 18°C | 18°C – 20°C | 90% – 95% | 800 – 1,200 | Maximum (Fresh Air) |
| Pin Development | 16°C – 17°C | 18°C – 19°C | 88% – 90% | 1,000 – 1,400 | Steady / Balanced |
| Harvesting (1st Flush) | 15°C – 17°C | 17°C – 18°C | 85% – 88% | 1,000 – 1,200 | Continuous |
3. Step-by-Step Prevention Protocol
Step 1: Manage Casing Moisture Before Pinning
Ensure the casing layer reaches full water capacity before cooling down the room. Once pins appear, heavy watering should cease until the mushrooms reach the size of small marbles (~12–15 mm).
Step 2: Cool the Room Gradually
Avoid dropping the room temperature by more than 2°C to 3°C per 24 hours. A harsh temperature drop shocks the mycelium, causing premature pinning followed by massive die-off.
Step 3: Maintain Air Movement Without Drying
Stagnant air encourages bacterial blotch, but aggressive, high-velocity air directly over the bed dries out the pin tips. Use micro-fogging systems or humidifiers that create a soft fog above the beds rather than coarse water droplets.
Step 4: Pair High-Vigor Spawn with Correct Casing
Weak or compromised spawn cannot transport nutrients to the casing quickly enough during heavy pinning. Choosing lab-tested, high-vigor commercial spawn ensures the mycelial network has the stamina to support dense flushes without starving out young pins.
Pro Tip for Commercial Operators: If you observe greyish or yellowing pins that feel squishy, remove them immediately during routine room maintenance. Leaving aborted pins on the bed provides an ideal nutrient bed for fungal pathogens like Dactylium (Cobweb Mold).
Need Support Optimizing Your Farm’s Yield?
At Milkyway Technologies, we combine decades of mycological expertise with high-performance commercial spawn strains designed for stability, fast casing colonisation, and high flash yields.
Explore our lab-certified strain lineup or consult with our technical farm advisors at